Data
How to


beneath the surface of Central Layer: set up your master data in 3 easy steps
29 Feb 2024
3 min read
Master data management is essential in your logistic operation. And, when you are not careful, you and your colleagues will spend too much time on it. However, correctly managing your master data is not the goal. It is a means to an efficient logistic process. Therefore, have your software do this task for you, so that you and your colleagues can focus on what is actually important: logistics.
Central data management for multiple sites
Boltrics’ Central Layer module creates a central company from where you can manage general data for all your companies or sites. For example, customers, customer articles, or price agreements and contracts. Changes can be made in this central company and forwarded to other companies. In that way, all your sites will be working with the same data without any errors.
Configure Central Layer in 3 steps
During the implementation of Central Layer, we can distinguish three major steps: setting up the C/L Partners, C/L Entities, and data integrations. In this blog, we briefly walk through these steps so you know what happens under the hood of your logistics software.
Step 1: C/L Partners
If you start working with Central Layer, you will first come across the so-called C/L Partners. These are all the companies that should be part of the Central Layer functionality. The central company (the Master CDM/CL Partner) must be configured as a C/L Partner too. Make sure to provide both the central company and all others with recognizable names in your software.
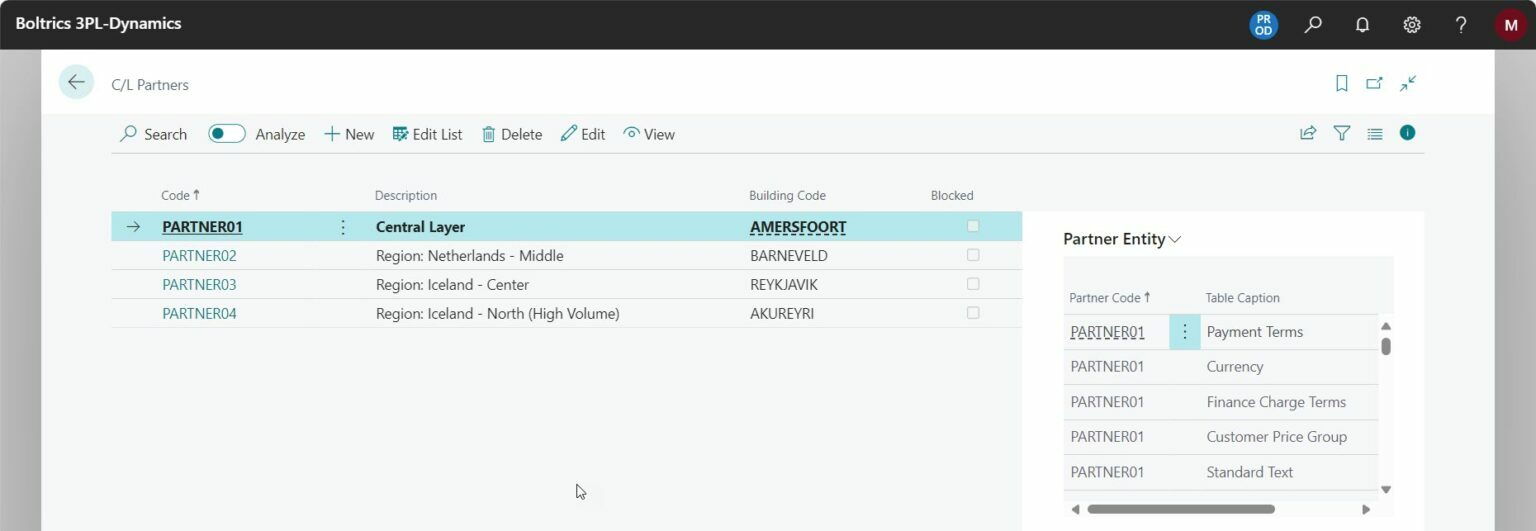
When creating the C/L Partners, you will find multiple fields on the C/L Partner card. To help you on your way, we discuss all the fields in the video below.
Step 2: C/L Entities
With the C/L Entities, that you just saw on the C/L Partner card too, you capture what tables must be managed centrally. If the list is empty, for example when you are creating a new partner, you can click on ‘Initialize’ to add all available entities to the list.
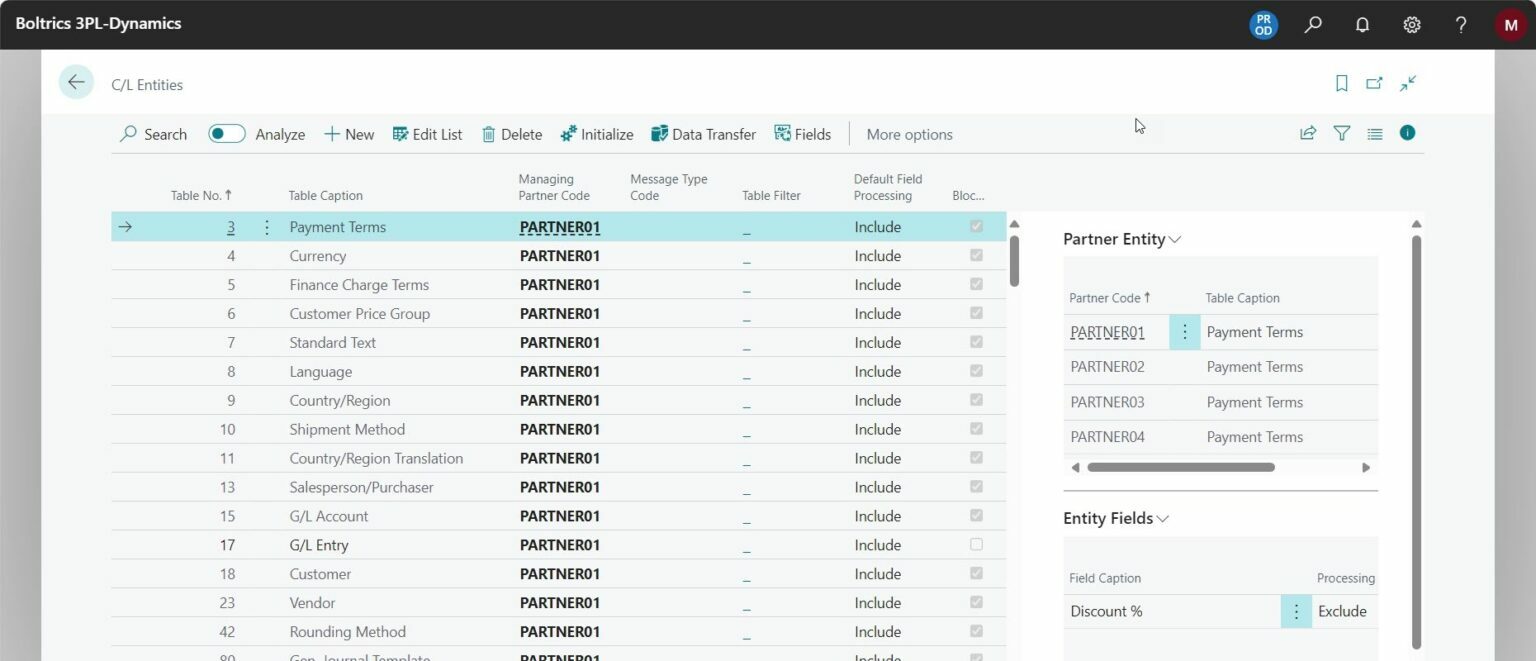
Via this list, you can determine per table if the data should be managed centrally or not. When the box ‘Blocked’ is ticked, the data will not be managed centrally. If the box is not ticked, the data in the table will be managed centrally. Tables that must always be activated are ‘C/L Partners’, ‘C/L Entities’, and ‘C/L data transfer’. These are the tables that make sure the configuration you do here will also be applied to other companies.
Note: the setup only works if all other steps are completed too.
Furthermore, in this step, you have to set up the data transfer for all active tables. Here, you configure the partners that will receive the data from the central company. In addition, you can choose what fields you want to manage centrally. You can ‘exclude’ fields that you do not want to manage via the central company.

Step 3: Data integration
Third and last, you have to set up the data integration messages to be able to benefit from the Central Layer functionalities. Only then the data you manage centrally will actually be sent to the decentral companies. In the central company, you need to add SND-CDM-RECORD, while in every receiving company you need to set up an RCV-CDM-RECORD message. Furthermore, in every company, job queue task 18 must be active to process the created integration messages.